Build with PackageJS (Part 1&2)


In this article, we'll go through a series of learning to put components together for our website with PackageJS. Relax, pay attention, and let's dive in!
PackageJS is a low-code framework that simplifies the creation of full-stack RESTful APIs and UI for Node.JS.
PackageJS is a pretty visual tool. Prepare to see plenty of screenshots throughout this series.
PART 1: BUILD THE BACKEND COMPONENT-API/DATABASE
Let's kick off by building the backend component of our website. Follow these steps closely.
To start, launch the starter kit in the prototyping folder by running npm run serve in your terminal.

You should notice the application builder running on your terminal, accessible at localhost.

When you open the URL (http://localhost:40082) in your browser, a beautiful purple UI pops up.
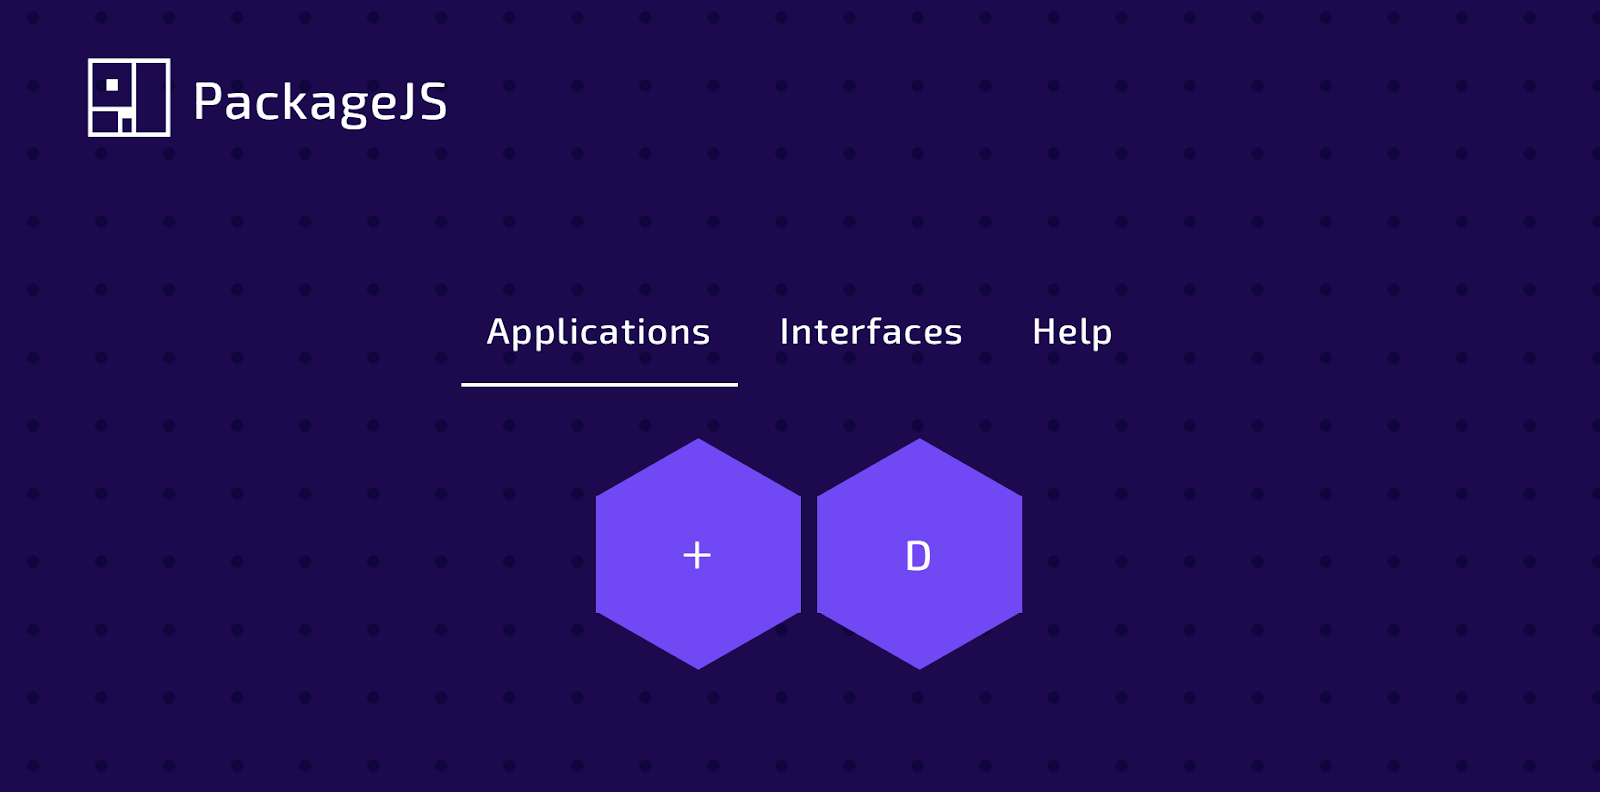
This UI empowers you to build your website. The Applications handle the backend, while the Interfaces manage all things UI and the connection the backend and UI require. We're going to build tables for the API and database of our website based on a small draft I've prepared, featuring components like About, Services, Reviews, Contact, and FAQ.
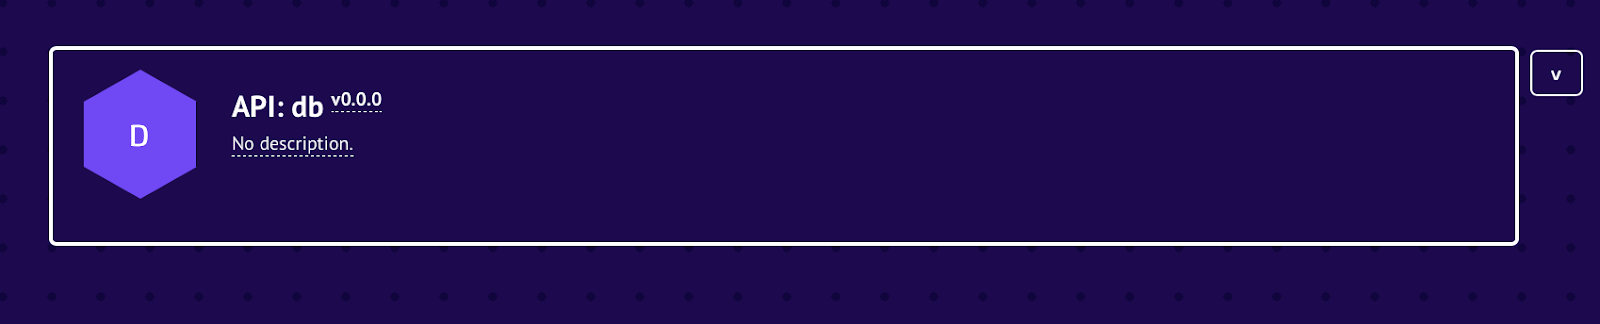
- Ensure you're on the
Applicationstile and click onD. You should see a display like this.
- Click on the
+icon below this component. When you hover, you should seecreate a new table.

Note: Some tables are already created, so once you create yours, it will appear similarly. The next step is giving life to these tables by creating actions and fields.
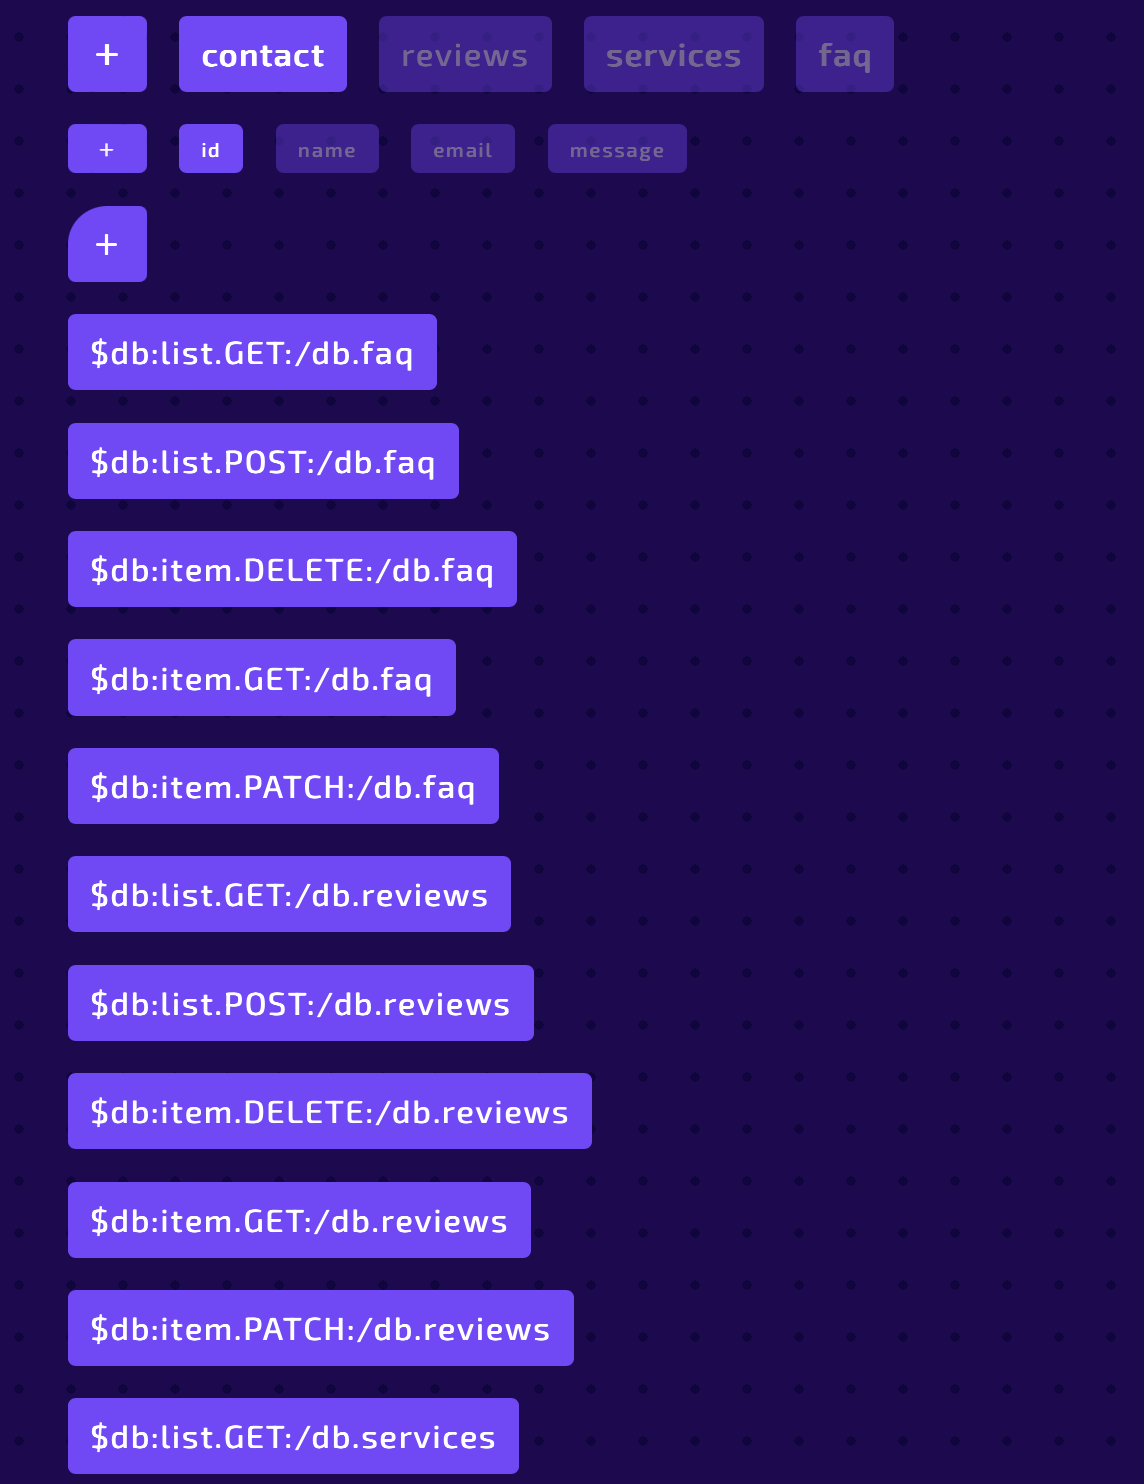
To achieve this, click on any of the tables you've created, such as the contact table. You'll see a "+" icon; click on it to create your field. You'll find a list of available fields to integrate into your contact, including email, ID, URL, etc.
Below, I've listed the fields I created for the contact table.
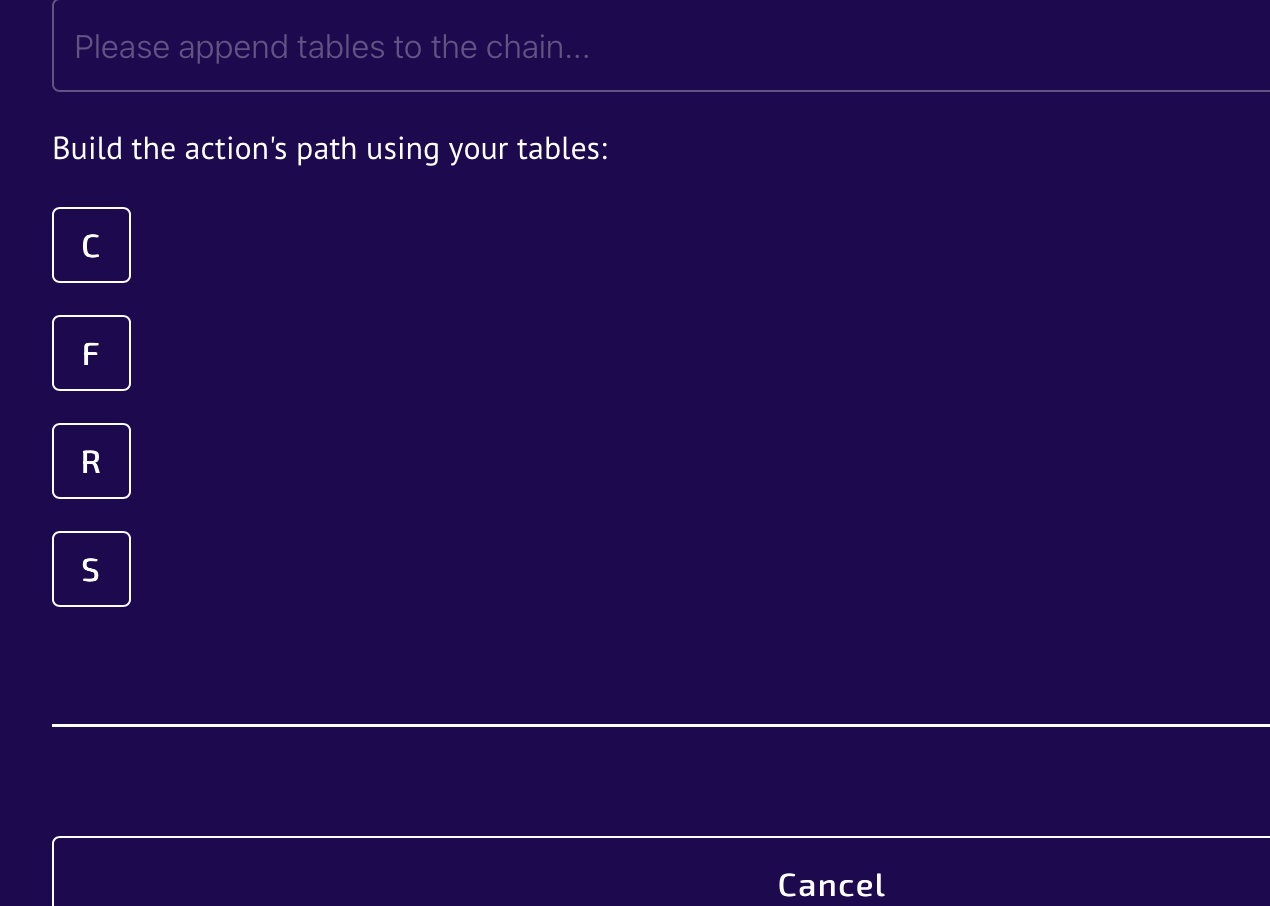
After creating fields, the next step is to craft actions for the table. Click on the “+” icon below; hover over it, and you'll find the option for “create action.” Click on that and choose the type of action you're aiming for. For this website, I opted for the standard action. Once you select the standard action, you’ll see a list of action paths that you can append to your tables.
After appending those actions to your contact tables, this is what you should have 👇
Note: These action paths represent the functions your tables will perform, such as “insert,” “delete,” “patch,” etc.
After successfully creating tables, fields, and actions for the APIs, you should have something like this 👇
With this process, we've essentially created our API and are ready to export.
To do so, scroll back up and click on
v.0.0.When you hover over it, you should see "export this table" 👇Click on it, then proceed to create a new deployment. Provide a name for your deployment, select your bundle type. For this website, we're using MariaDB. Click “MariaDB + Unix local,” and you’re ready to export.
PART 2: BUILD & CONNECT THE UI
After exporting and unzipping, run the db-rework through the terminal by executing
npm installand thennpm run deployto launch the API.Note: Ensure you set up your environment variables correctly, including name, password, API URL, etc. Do follow this video for more guidance.
Now that the backend is up and running, we should connect it to the UI.
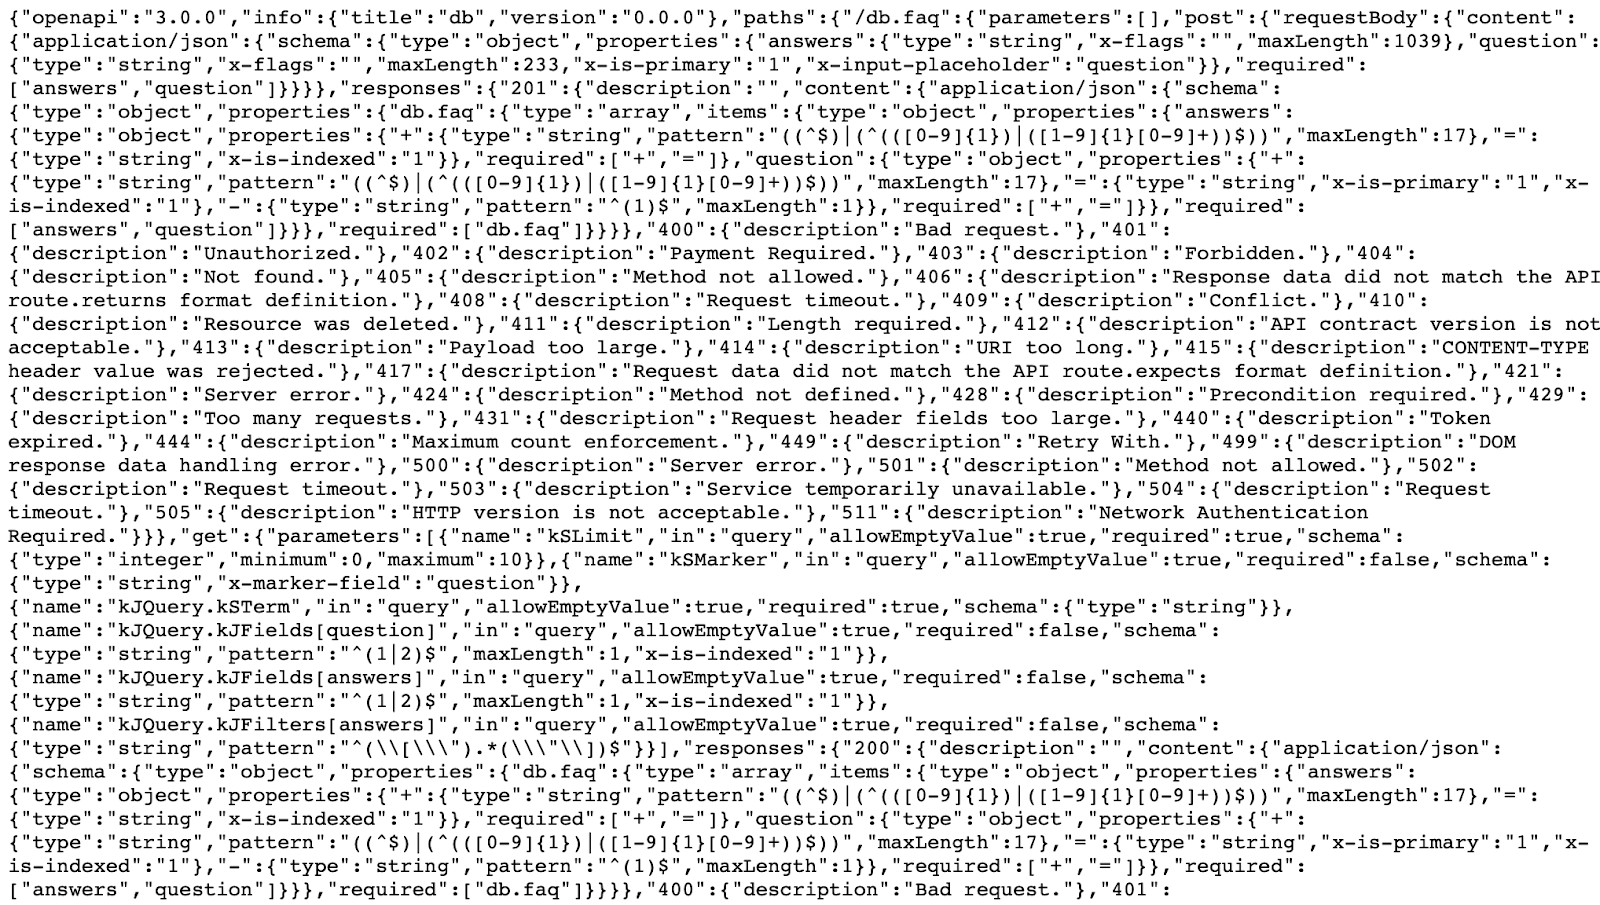
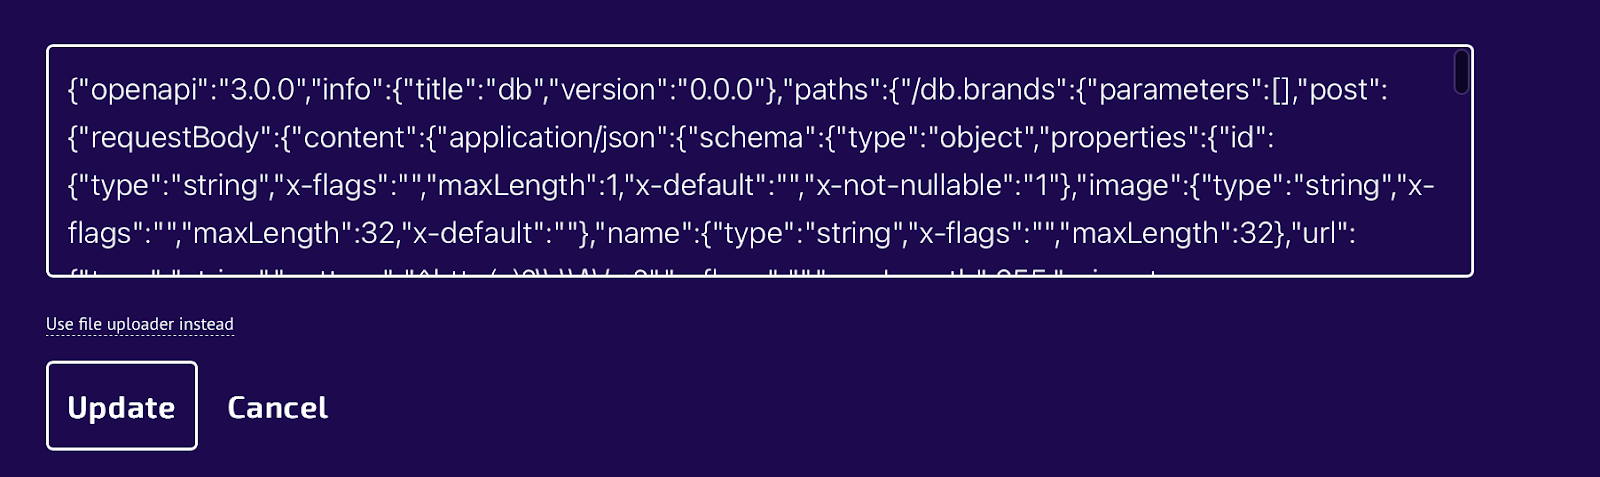
Firstly, ensure you grab the URL of your application builder(the one in terminal) and add “/openapi.json” to obtain your remote contract (JSON), which you’ll be using shortly.

Here's what your API contract should look like
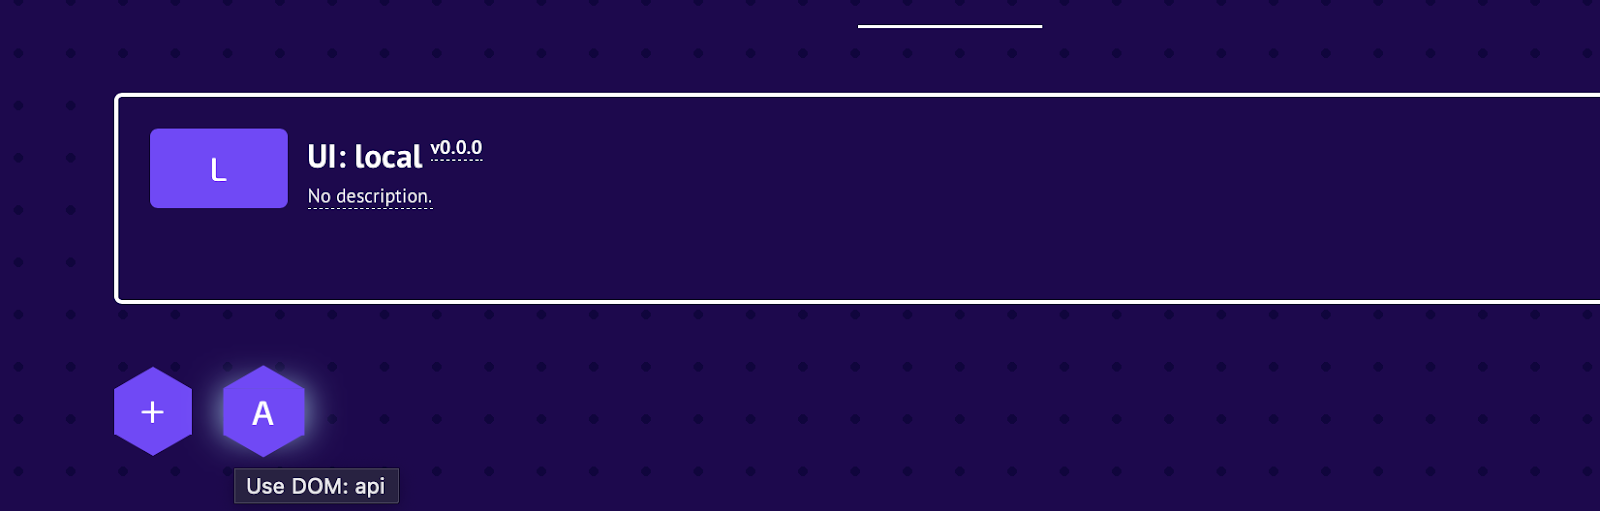
After this, return to the application builder, click on "Interfaces", and then select "use ui:local" (the first L tile)
Click on the first tile; when you hover over it, it should say "use DOM" API like so
And then, simultaneously press the 'Shift' and 'Option' keys on your keyboard, then click on the 'A' tile. You should observe something similar to this. This is where you'll add or update your remote contract API.
Check this video for more details.
Copy the earlier remote contract (JSON), paste it into this box, and update. Once completed, we will create corresponding components for the UI.
To create a UI component, click on the plus icon; when you hover, you should see “create a new component”
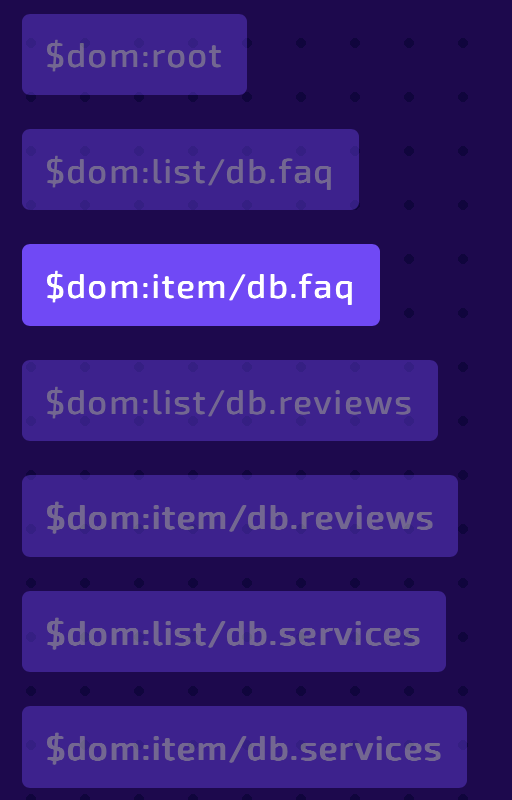
Select the standard component, choose the connection path, and you should see an array of component you created for your API. For this tutorial, click on the
$dom:list faqand then redirect to the parent since we will be displaying it on the home page (root).This is what you should have 👇
And this process should be repeated for other components. Once completed, you should have an array of these matching components👇
Now that we have corresponding components, it's time to export our local UI to initiate the next steps. To export the UI, click on the
v.0.0, just as we did for thedb-rework, and voila, the UI has been exported.Before running the
local_rework (UI)in the terminal, copy the functions, public, and env.local files from the UI > Vue > template folder in the starter kit folder and then proceed to run through the terminal (npm install,npm run deploy).Note: Ensure you copy the API contract into the terminal as well and switch to node version 14 before running. This is because it is only compatible with node version 14. For more details, watch this video.
This is what it should look like

The UI is up and running. Lastly, open the
local_reworkin your VSCode to start building and styling out your website.